Alignment Ring Instructions
Before You Begin
You will need the following:
• tape measure
• tape (painter’s tape is recommended)
• saw/cutting tool (angle grinder with a cut off wheel is recommended)
• clamps
• any safety gear you think is necessary (safety glasses, gloves, hard hat, etc…)
Fiberglass Tank Solutions (FTS) will provide:
• two-part epoxy
• tongue depressor
• 4” tall FRP alignment ring
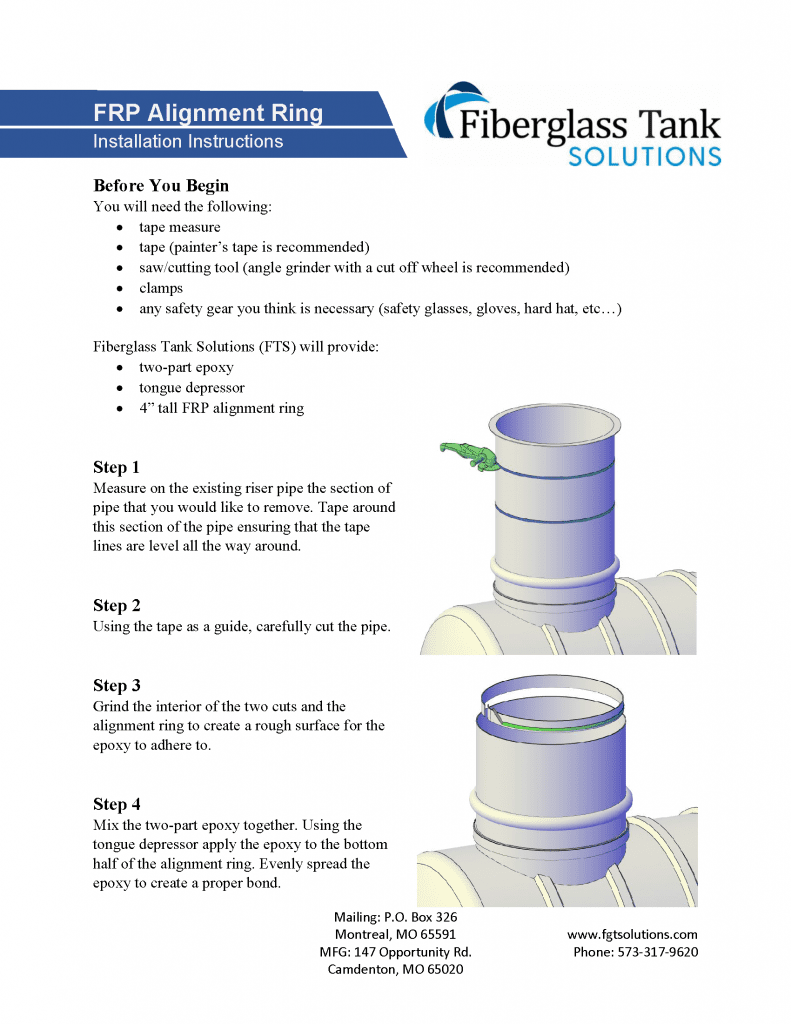
Step 1
Measure on the existing riser pipe the section of
pipe that you would like to remove. Tape around
this section of the pipe ensuring that the tape
lines are level all the way around.
Step 2
Using the tape as a guide, carefully cut the pipe.
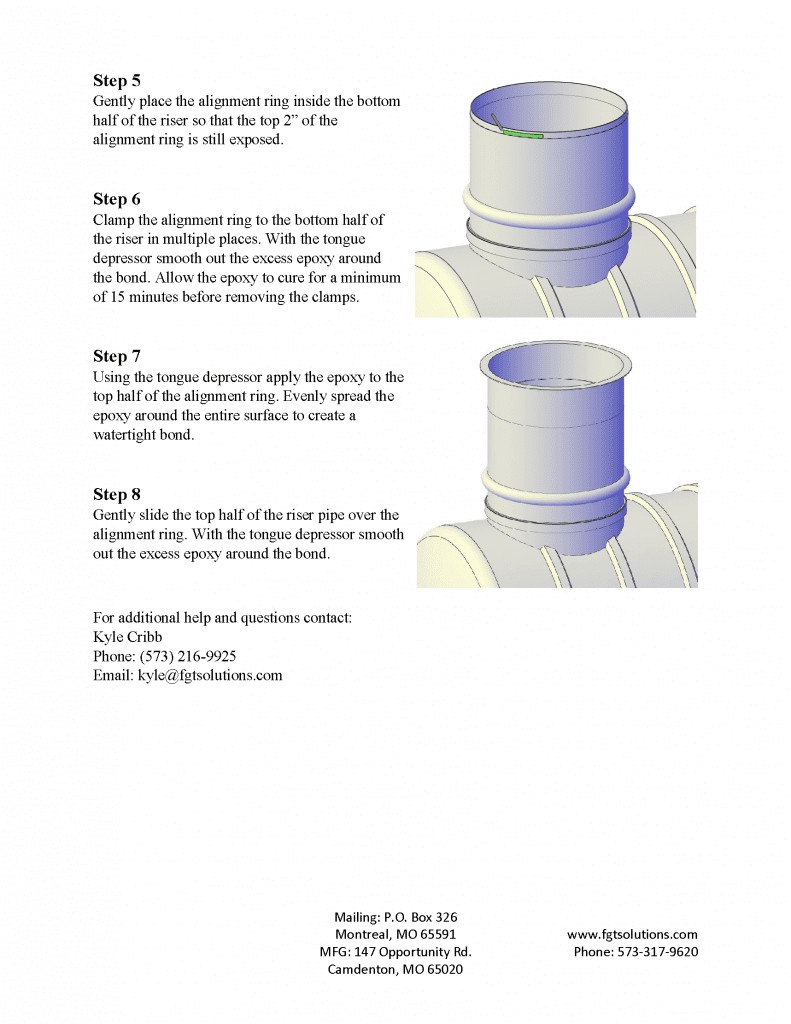
Step 3
Grind the interior of the two cuts and the
alignment ring to create a rough surface for the
epoxy to adhere to.
Step 4
Mix the two-part epoxy together. Using the
tongue depressor apply the epoxy to the bottom
half of the alignment ring. Evenly spread the
epoxy to create a proper bond.
Step 5
Gently place the alignment ring inside the bottom half of the riser so that the top 2” of the alignment ring is still exposed.
Step 6
Clamp the alignment ring to the bottom half of the riser in multiple places. With the tongue depressor smooth out the excess epoxy around the bond. Allow the epoxy to cure for a minimum of 15 minutes before removing the clamps.
Step 7
Using the tongue depressor apply the epoxy to the top half of the alignment ring. Evenly spread the epoxy around the entire surface to create a watertight bond.
Step 8
Gently slide the top half of the riser pipe over the alignment ring. With the tongue depressor smooth out the excess epoxy around the bond.


